Registration is the easy part of a NISM certification — but it is also the part where a careless twenty minutes costs you a fee, because NISM charges per attempt and a booking made against the wrong certification is money spent on an exam you did not need.
The process runs through NISM's own certification portal at nism.ac.in. Everything below assumes that route; some employers register staff in bulk instead, in which case your compliance team handles it and you can skip to the preparation section.
What you need before you start
Have these open before you begin. Stopping halfway to hunt for a document is how people end up booking the wrong slot.
| What | Why it matters |
|---|---|
| PAN | Identity across the whole certification record. Must match your other documents exactly |
| Email address you actually read | Every confirmation, hall ticket and result goes here |
| Mobile number | OTP verification during registration and payment |
| Photograph and signature | Uploaded during profile creation, to prescribed dimensions |
| Payment method | Net banking, debit or credit card |
| The exact certification you need | See below — this is the step people get wrong |
Step 1 — Confirm which certification you actually need
Do this before touching the portal. The requirement comes from SEBI or your employer's compliance team, not from a blog post and not from what a colleague sat last year — certifications are role-specific and NISM adds new ones.
If you are distributing mutual funds it is Series V-A. If you are dealing in equity derivatives, Series VIII. Publishing research, Series XV. Our complete NISM exams table lists all 34 with their fees, duration and pass marks, but treat it as a shortlist to confirm, not as authority over your obligation.
Getting this wrong is the expensive mistake. NISM does not transfer a fee between certifications.
Step 2 — Create your account
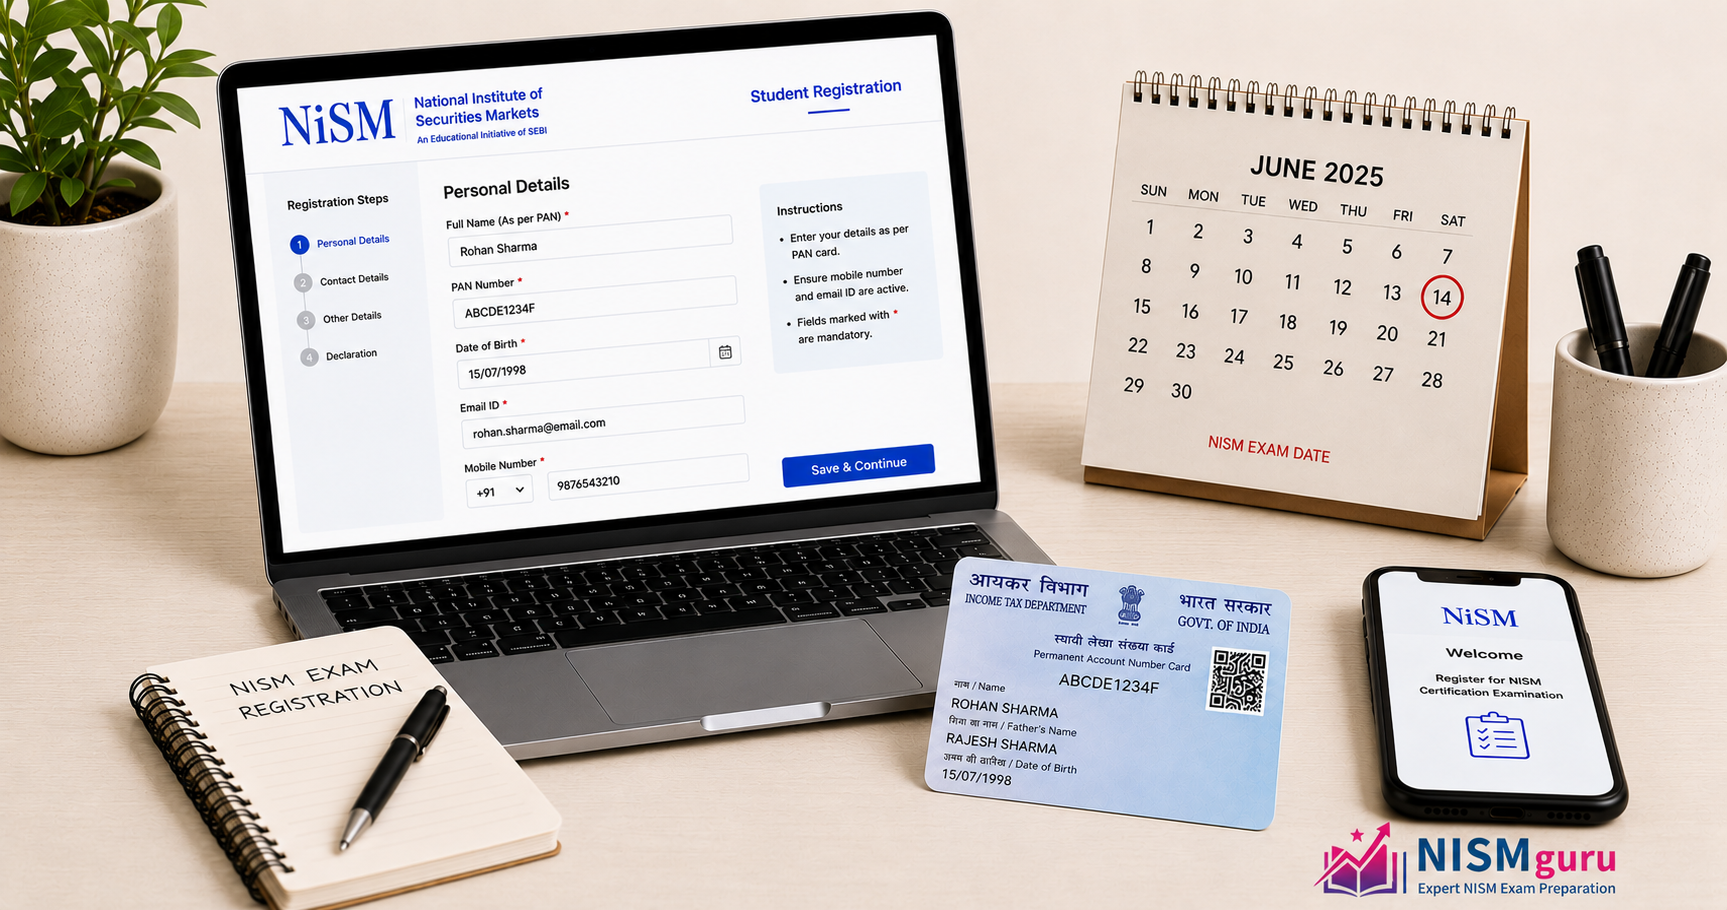
Register on the NISM certification portal with your PAN, email and mobile. You will verify by OTP and complete a profile including your photograph and signature.
Two things worth care here:
- Your name must match your PAN exactly. A mismatch between your profile and the ID you carry on exam day is a documented reason candidates are turned away at the centre.
- Use a permanent email. Certificates, renewals and CPE communication go to it for years, not weeks. A work address you might lose access to is the wrong choice.
Step 3 — Select the certification and pay
Choose your certification from the list and pay the fee. Fees run from ₹885 to ₹3,000 depending on the paper — most commonly sat exams are ₹1,500, and the full breakdown is in our guide to NISM exam fees.
Confirm the final payable amount on the payment screen before you authorise it, and keep the payment confirmation. Registration is only complete once payment clears; an unpaid registration holds nothing.
Step 4 — Book your test centre and slot
After payment you choose a test centre, date and time from the available slots. Availability varies by city and time of year, and popular centres in the metros fill first.
Book the date you will actually be ready for, not the earliest one available. A slot four weeks out that you meet is worth more than one next week that you fail — a failed attempt costs the full fee again.
Most candidates who clear on the first attempt give a ₹1,500-band exam three to four weeks alongside a job. Work backwards from that.
Step 5 — Download your hall ticket
Your admit card becomes available in your account before the exam. Download it, check that the name, centre address and reporting time read correctly, and print it if the instructions say to.
Carry it with the original photo ID whose details match your registration. Turning up with a mismatch, or with a photocopy where an original is required, is the second-most-common way candidates lose a booking they have already paid for.
After you register — the part that decides the outcome
Registration guarantees you a seat, nothing more. Two habits separate a first-attempt pass from a second fee:
- Read the official workbook end to end before your first full-length practice test. It is a free download and it is the source the questions are written from.
- Practise under exam conditions. Timed, uninterrupted, no reference material. Knowing the syllabus and producing it in two hours under a clock are different skills, and only one of them is tested.
If we cover your certification, a free demo mock test uses the same interface and timing as the real paper, so exam day is not the first time you meet it.
One caution
NISM controls this process and can change it. Portal screens, document requirements and slot rules are all revised from time to time, so follow the instructions on nism.ac.in as you go and treat this as a map rather than the territory.
Registered? Now find out if you are ready. Our mock tests mirror the real exam interface and timing, with an explanation for every answer and analytics showing which chapters are costing you marks. Free demo before you pay. Take a free mock test.